

Outdoor Kitchen Transformation
The centerpiece of our backyard has always been our adorable greenhouse, built by the previous owners. It was the backdrop for much of our DIY wedding in August 2020 and served as our seed station for our 2021 garden. But what we’ve learned over the past few years is that greenhouses can be expensive.
Its location in our backyard exposes it to two hours of DIRECT sunlight around 4 pm, heating it up and making it difficult to keep it cool enough for plants. In the winter, we have the opposite problem. After several tornados and intense storms, the structure itself has seen better days and it’s proved difficult to insulate. That makes it hard to keep warm in the winter.
It became a potting shed for storage out of necessity and proximity to the garden, but it felt like such a waste of an adorable little house, so we’re revamping the tired greenhouse and converting it into a show-stopping DIY outdoor kitchen.
What started as a simple repurposing quickly turned into a complete gut job. Ain’t that always the way? Stay up-to-date on our progress along the way.
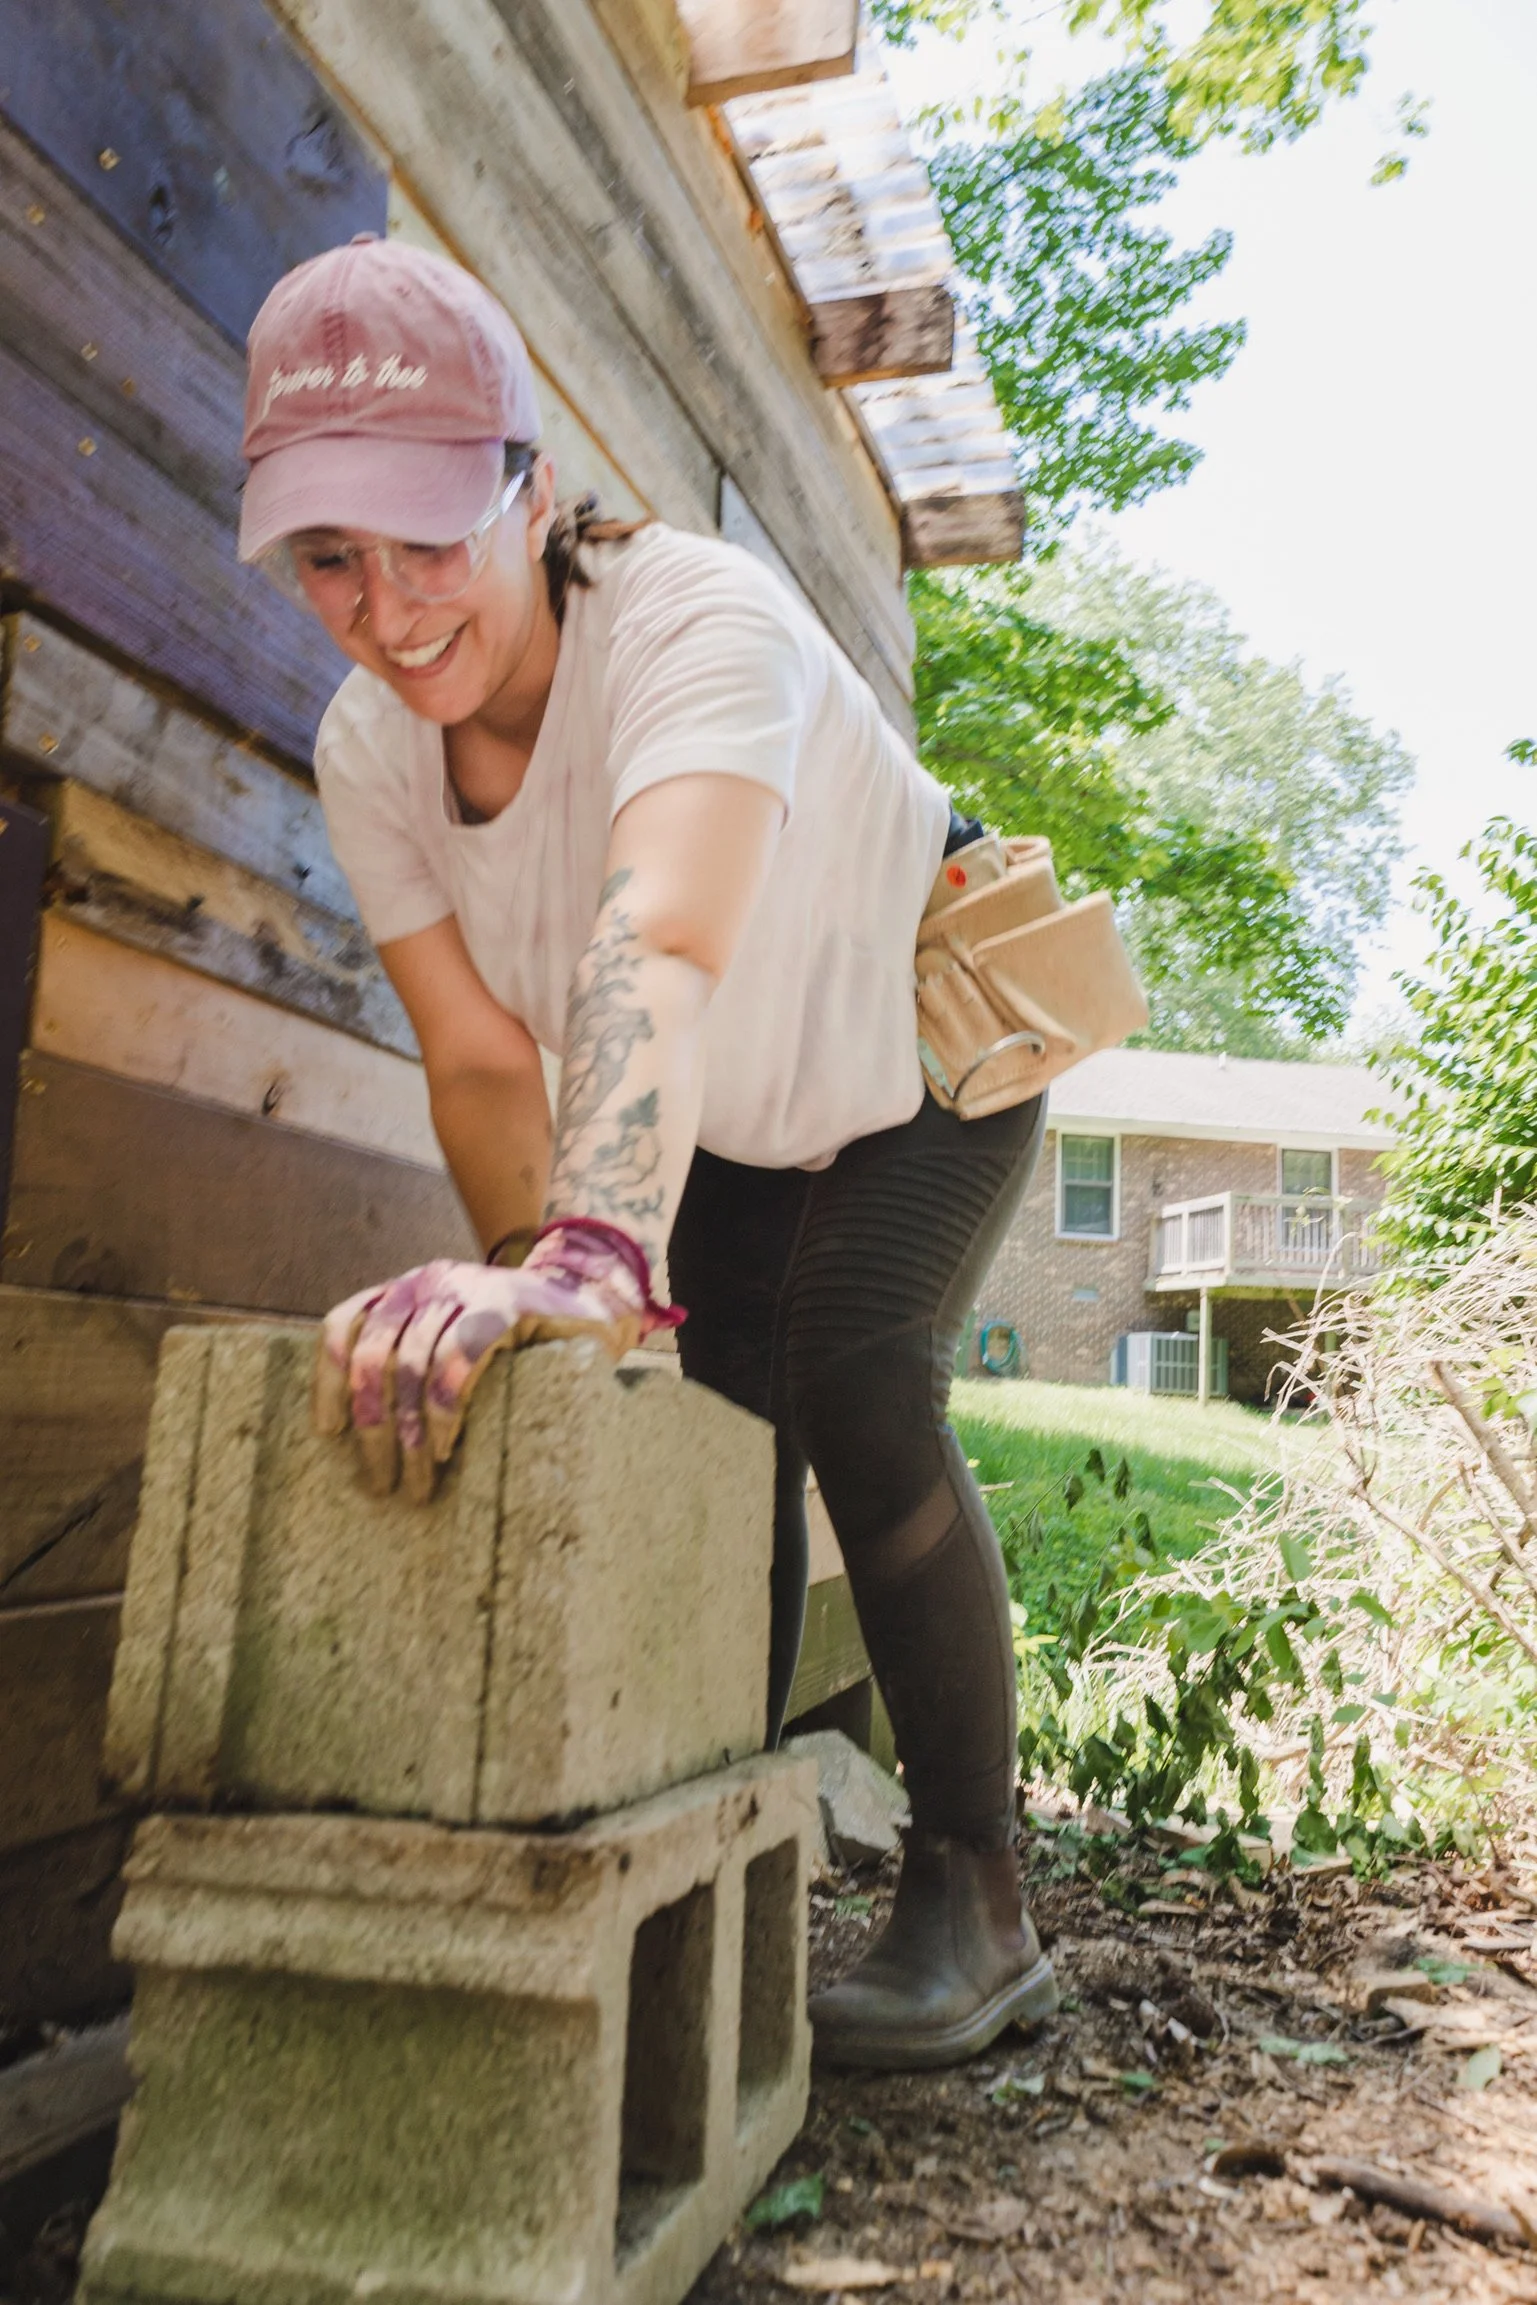
BEFORE TRANSFORMATION


Outdoor Kitchen Design Plan


Immediately, we knew we wanted to paint the outside of the greenhouse black and that was kind of the starting point for our design and plan. We wanted to have a place to store plates, cups, bowls, and flatware out of the elements, as well as a place to serve food. We knew we wanted to build some sort of deck around the structure for more flat, usable space since much of our backyard is sloped.
So here’s the plan, after demolition:
Sure up the structure
Add a solid walkway in the center
Build the exterior back wall with scrap wood (to save some money)
Build side/front walls with scrap wood from the floor up to the base of the current windows to leave room for either new windows or a pass-through bar area.
Build an interior wall with shiplap boards
Paint the interior white
Replace the entire roof
Add sand (for leveling) and a tile floor inside the structure
Use cedar fence pickets for the exterior walls
Paint the exterior black
Add concrete countertops/bartop and storage/cabinets (we’ll see what we can find secondhand)
Add a new sink
Construct a deck around the kitchen
Integrate the fire pit and garden bed into the outdoor kitchen area (somehow).
Demolishing The Old Greenhouse
Half of the battle to starting this project was cleaning out the greenhouse. It was both a cluttered mess and a wet, moldy mess. The roof was damaged and leaking and plenty of critters made themselves right at home.
We took a sledgehammer to the back wall which was rotted through and replaced several structural beams with new 4x4s.
Rebuilding the Walls To Make An Outdoor Kitchen
Using scrap wood to build this structure was a feat in itself. We found most of it on Facebook Marketplace or had it left over from projects from over the years. For the back exterior wall, we didn’t need it to be pretty — we needed it to be a wall (kinda). This back wall won’t be seen and is often overgrown with tree leaves in the spring and summer. I puzzled the wall together, knowing we would be going back in to build an interior wall that was much more aesthetic.
For the main, interior wall, we bought shiplap panels and strategically cut them so there would be no seams. This finished wall will be the first thing you see when you walk into the space so it was important to spend the money here to make it look good. We paid about $140 for the interior wall but the exterior wall was entirely free.
For the remainder of the interior walls, we only needed to enclose up to counter height. We had enough salvaged planks to complete those walls, knowing they would be visually covered by a countertop and cabinet system.


Painting The Interior
We chose to paint the entire interior white to keep it light and bright. We teamed up with ZAR because we were really interested in trying out a product that could be used like a stain but had the coverage of paint. We used the ZAR Deck and Siding Color Coating in Pure White.
Building The Wood Walkway & Painting The Stepping Stones
To be honest, I didn’t have a real plan for the floor because I had no idea we would have to completely rebuild half of the structure. Once that was done, I could really see how uneven the floor was. To make the space somewhat workable, I used scrap wood to construct the center walkway. This would at least give us something to stand on while we worked. Now that we’re near the end, we are ripping out the temporary walkway to install a more permanent one, the full width.
For the patio, have an excess of red brick stepping stones from when we added a paver porch in front of the greenhouse. At the time, these stones were the cheapest option and we were working on a very tight budget and schedule. I never really loved them, but they got the job done and created much-needed flat space for our guest tables at our wedding.
Since I physically cannot waste materials, we’re going to reuse these and just paint them. I really wanted to make a vintage checkerboard patio… on a budget. I used Glidden Essentials Masonry paint in pure white and then mixed that with ZAR’s black exterior siding paint to get the gray color.

Vertical Siding Made From Fence Pickets
To save money, while also creating a beautiful exterior, we used cedar fence pickets as the siding. Laying these pickets vertically brought the entire structure together. We wrapped each of the posts with these same pickets, which made this actually look like a structure you might want to hang out in. At this stage, it’s kind of giving lemonade stand vibes.

Stay Tuned For The Reveal
We’ll continue to update this blog as we finish additional steps in the project.
Items Used
